How to Use API Networking to Retrieve Juniper vMX Device Information
Welcome back to our Network Automation series. Last week, we utilized SSH and Netmiko to back up configurations. This week, we will explore modern network APIs. Rather than delving into complex setups, we will start with a fundamental task that every network engineer performs daily: gathering device information.
By the conclusion of this post, you will be equipped to utilize network APIs to automatically gather:
Device hostnames and software versions
Interface status
Device Uptime and Model
No configuration changes, no risk - just reading information the modern way.
Why Use APIs for Information Gathering?
The traditional method (SSH/CLI):
ssh admin@router1
show version | include Version
show interfaces terse
show system uptime
# Now manually copy-paste to Excel
# Repeat for 50+ devices
The API Approach:
# Collect from 50+ devices in seconds
for device in devices:
  info =get_device_info(device)
# Automatically formatted in structured data
Why is this a superior approach?
Speed: Gather data from multiple devices simultaneously
Structured Data: Utilize XML/JSON instead of parsing text
Consistency: Ensure the same data format every time
No Manual Copying: Directly export to Excel, database, or dashboard
Automation Ready: Simple to schedule and monitor
Error Reduction: Eliminate copy-paste mistakes
Understanding Network APIs
What is an API?
An API (Application Programming Interface) serves as a means for programs to communicate with network devices. It is comparable to a menu at a restaurant:
The menu displays available options (API documentation)
You place an order (API call)
You receive the requested item (API response)
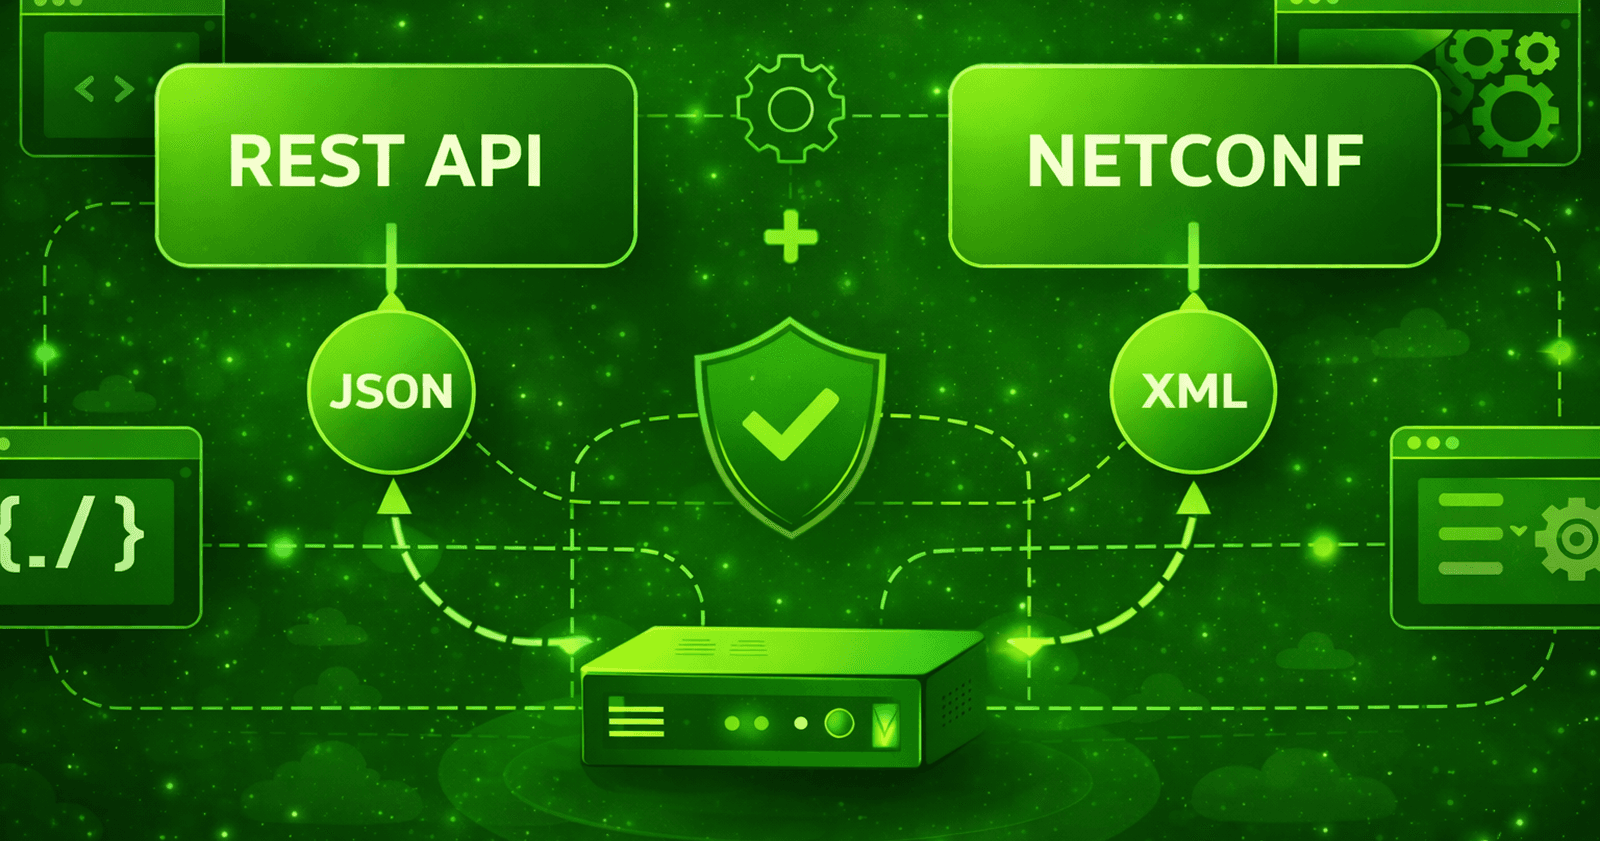
Two Primary Types for Network Devices:
NETCONF
Uses SSH connection (port 830)
Structured data (XML)
Supports transactions and validation
More powerful, model-driven
Note:
In this article we touch on NETCONF briefly just for common understanding. NETCONF will have a dedicated article with more in-depth details and more practical examples.
NETCONF Session Flow
Client                                  Network Device (Server)
|                                               |
| SSH Connection (port 830) |
| ==========================================>   |
|                                               |
| <hello> (device capabilities) |
| <-------------------------------------------  |
| <hello> (client capabilities) |
| ------------------------------------------->  |
|                                               |
| <rpc message-id="101">                        |
| <lock>                                        |
| <target>                                      |
| <candidate/>                                  |
| </target>                                     |
| </lock>                                       |
| </rpc>                                        |
| ------------------------------------------->  |
|                                               |
| <rpc-reply message-id="101">                  |
| <ok/>                                         |
| </rpc-reply>                                  |
| <-------------------------------------------  |
|                                               |
REST (Representational State Transfer) API
Uses HTTP/HTTPS
Usually JSON format
Simple request/response
Easy to understand
How REST Works
Client                            Server (Network Device)
|                                          |
| GET /api/v1/interfaces/eth0              |
| ---------------------------------------->|
|                                          |
| HTTP/1.1 200 OK                          |
| Content-Type: application/json           |
| {                                        |
| "name": "eth0",                          |
| "status": "up",                          |
| "speed": "1000Mbps"                      |
| }                                        |
| <----------------------------------------|
|                                          |
REST Operations
HTTP Method   Purpose          Example
-----------   -------          -------
GET           Read resource    GET /api/interfaces
POST          Create resource  POST /api/interfaces
PUT           Update resource  PUT /api/interfaces/eth0
DELETE        Remove resource  DELETE /api/interfaces/eth1
PATCH         Partial update   PATCH /api/interfaces/eth0
When to Use Each Method
Select REST when:
Utilize REST for straightforward and rapid integrations with network devices.
It is ideal for modern cloud-native applications.
Select REST if the vendor offers a well-documented REST API.
Opt for REST when seeking extensive support for various languages and tools.
Select NETCONF when:
You need transactional integrity for configuration changes
Working with critical infrastructure requiring validation
Managing complex, multi-step configurations
Rollback capabilities are essential Working with devices that support YANG data models
Enterprise network automation at scale
Prerequisites
Software Requirements
# Install required Python libraries
pip install ncclient  # For NETCONF
pip install xmltodict # For parsing XML
pip install tabulate  # For pretty tables
pip install requests  # For REST APIs (if needed)
Lab Setup
For this tutorial, you will need access to:
- A Juniper vMX router with NETCONF enabled
Don't have a device? Use containerlab
Enable NETCONF on your device:
Juniper vMX
set system services netconf ssh
set system services netconf rfc-compliant
commit
Verify NETCONF Configuration and Status
admin@juniper> show configuration system services netconf
ssh;
rfc-compliant;

admin@juniper> show system connections | match 830
tcp6       0      0  *.830        *.*                                           LISTEN
tcp4       0      0  *.830        *.*                                           LISTEN
Juniper vMX - System Information Accessed via NETCONF
In this example, we are gathering basic information from a Juniper vMX router.
Understanding the Code Structure
from ncclient import manager
import xmltodict
from tabulate import tabulate
import getpass
import csv
from datetime import datetime
import os
Explanation of Each Import
from ncclient import manager: This import allows us to manage NETCONF sessions with network devices.import xmltodict: This library is used to convert XML data into a Python dictionary, making it easier to work with.from tabulate import tabulate: This module helps in creating well-formatted tables for displaying data.import getpass: This module is used to securely prompt for a password without displaying it on the screen.import csv: This library provides functionality to read from and write to CSV files.from datetime import datetime: This import allows us to work with dates and times in our code.import os: This module provides a way to interact with the operating system, such as handling file paths.
Device Connection Details
# Device details
VMX_HOST = "172.20.20.16"
VMX_PORT = 830
VMX_USER = "admin"
VMX_PASS = getpass.getpass(f"Password for {VMX_USER}@{VMX_HOST}: ")
Why use port 830?
Port 830 is the standard port for NETCONF over SSH.
Port 22 is used for regular SSH connections.
Port 830 provides us with NETCONF capabilities.
Why use getpass?
# Bad - password visible in code and on screen
VMX_PASS = "coded123"
# Good - password not shown when typing
VMX_PASS = getpass.getpass("Password: ")
The Connection Function
def connect_vmx():
    """Connect to Juniper vMX via NETCONF"""
    return manager.connect(
        host=VMX_HOST,
        port=VMX_PORT,
        username=VMX_USER,
        password=VMX_PASS,
        device_params={'name': 'junos'},
        hostkey_verify=False,
        look_for_keys=False,
        allow_agent=False
    )
Breaking Down the Parameters:
host=VMX_HOST= The IP address for connectionport=VMX_PORT= Port 830 (used for NETCONF)username=VMX_USER= The login usernamepassword=VMX_PASS= The login passworddevice_params={'name': 'junos'}= Informs ncclient that this is a Juniper devicehostkey_verify=False= Disables SSH key verification (suitable for lab environments, not recommended for production)look_for_keys=False= Disables searching for SSH key filesallow_agent=False= Disables the use of the SSH agent
What manager.connect() returns:
A connection object that allows us to send commands
Automatically manages the SSH connection
Oversees the NETCONF session
Retrieving System Information
def get_vmx_system_info():
    """Get system information from vMX"""

    with connect_vmx() as m:
        # Get system information
        result = m.command(command='show version', format='xml')
        data = xmltodict.parse(result.tostring)

        # Get uptime
        uptime_result = m.command(command='show system uptime', format='xml')
        uptime_data = xmltodict.parse(uptime_result.tostring)

        return data, uptime_data
What is with ... as m?
with connect_vmx() as m:
# Use connection 'm' here
# Connection automatically closes when done
This is a context manager
Benefits:
Automatically closes connection even if there's an error
Prevents connection leaks
Cleaner than manual connect/disconnect
The m.command() method:
result = m.command(command='show version', format='xml')
Breaking it down:
m.command()= Executes a Junos operational commandcommand='show version'= The specific CLI command to be executedformat='xml'= Retrieves the response in XML format (structured data)
Why use XML instead of text?
Text output:
Hostname: juniper
Model: vmx
Junos: 22.4R1.10
XML output:
<software-information>
  <host-name>juniper</host-name>
  <product-model>vmx</product-model>
  <junos-version>22.4R1.10</junos-version>
</software-information>
XML is:
Structured (easy to parse)
Consistent format
Machine-readable
Contains all information
Converting XML to Dictionary:
uptime_data = xmltodict.parse(uptime_result.tostring)
This process converts XML data into a Python dictionary:
data ={
   'rpc-reply':{
      'software-information':{
        'host-name':'juniper',
        'product-model':'vmx',
        'junos-version':'22.4R1.110'
       }
    }
}
Extracting and formatting the data
def parse_system_data(sys_data, uptime_data):
    """Parse and extract system information"""

    try:
        software = sys_data['rpc-reply']['software-information']
        uptime_info = uptime_data['rpc-reply']['system-uptime-information']

        info = {
            'hostname': software.get('host-name', 'N/A'),
            'model': software.get('product-model', 'N/A'),
            'version': software.get('junos-version', 'N/A'),
            'uptime': uptime_info.get('system-booted-time', {}).get('time-length', 'N/A')
        }

        return info

    except Exception as e:
        print(f"Could not parse system info: {e}")
        return {
            'hostname': 'N/A',
            'model': 'N/A',
            'version': 'N/A',
            'uptime': 'N/A'
        }
Why try/except ?
The XML structure may vary
Missing fields will not cause the script to crash
Ensures graceful error handling
What is .get('key', 'N/A') ?
Safe dictionary access:
# If key exists, return value
# If key doesn't exist, return 'N/A' instead of crashing
value=dictionary.get('key','N/A')
Displaying the information
def display_system_info(system_info):
    """Display system information in formatted output"""

    print("="*60)
    print("Juniper vMX Device Information")
    print("="*60)
Creating the headers
print("="*60)
# Prints 60 equal signs
Exporting to CSV
Let's save the collected data to a CSV file for use in Excel:
def export_system_to_csv(system_info, filename=None):
    """Export system information to CSV file"""

    if filename is None:
        timestamp = datetime.now().strftime('%Y%m%d_%H%M%S')
        filename = f"vmx_system_info_{timestamp}.csv"

    # Create exports directory if it doesn't exist
    export_dir = 'exports'
    if not os.path.exists(export_dir):
        os.makedirs(export_dir)

    filepath = os.path.join(export_dir, filename)

    with open(filepath, 'w', newline='') as f:
        writer = csv.writer(f)

        # Write header
        writer.writerow([
            'Collection Time',
            'Device IP',
            'Hostname',
            'Model',
            'Junos Version',
            'Uptime'
        ])

        # Write data
        writer.writerow([
            datetime.now().strftime('%Y-%m-%d %H:%M:%S'),
            VMX_HOST,
            system_info['hostname'],
            system_info['model'],
            system_info['version'],
            system_info['uptime']
        ])

    print(f"\n✓ System information exported to: {filepath}")
    return filepath
Complete Output
# Exexute the script
python3 junos_get_csv.py

============================================================
vMX Device Information Collector
============================================================
Target: 172.20.20.16
Time: 2026-02-11 13:14:13
============================================================

Collecting system information...
✓ System information collected
Collecting interface information...
✓ Interface information collected (10 interfaces)

============================================================
Juniper vMX Device Information
============================================================
Hostname            : juniper
Model               : vmx
Junos Version       : 22.4R1.10
Uptime              : {'@seconds': '2431474', '#text': '4w0d 03:24'}

============================================================
Interface Status
============================================================
+-------------+----------------+---------------+
| Interface   | Admin Status   | Oper Status   |
+=============+================+===============+
| ge-0/0/0    | up             | up            |
+-------------+----------------+---------------+
| gr-0/0/0    | up             | up            |
+-------------+----------------+---------------+
| ip-0/0/0    | up             | up            |
+-------------+----------------+---------------+
| lc-0/0/0    | up             | up            |
+-------------+----------------+---------------+
| lt-0/0/0    | up             | up            |
+-------------+----------------+---------------+
| mt-0/0/0    | up             | up            |
+-------------+----------------+---------------+
| pd-0/0/0    | up             | up            |
+-------------+----------------+---------------+
| pe-0/0/0    | up             | up            |
+-------------+----------------+---------------+
| pfe-0/0/0   | up             | up            |
+-------------+----------------+---------------+
| pfh-0/0/0   | up             | up            |
+-------------+----------------+---------------+

============================================================
Exporting Data
============================================================

✓ System information exported to: exports/vmx_system_info_20260211_131415.csv
✓ Interface information exported to: exports/vmx_interfaces_20260211_131415.csv

============================================================
Collection Summary
============================================================
✓ Device: juniper (172.20.20.16)
✓ Model: vmx
✓ Version: 22.4R1.10
✓ Interfaces Collected: 10
✓ System CSV: exports/vmx_system_info_20260211_131415.csv
✓ Interface CSV: exports/vmx_interfaces_20260211_131415.csv
============================================================
Troubleshooting Common Issues
Issue 1: Connection Timeout
Error:
TimeoutError: timed out
Solutions:
# Increase timeout
m = manager.connect(
  host=device['host'],
  timeout=30, # Increase from default 10 seconds
  ...
)
Issue 2: Authentication Failed
Error:
AuthenticationException: Authentication failed
Solutions:
Verify username/password
Check user has correct privileges
Ensure NETCONF is enabled
Issue 3: XML Parsing Errors
Error:
KeyError: 'software-information'
Solutions:
# Use .get() with defaults
software=data.get('rpc-reply',{}).get('software-information',{})
hostname=software.get('host-name','Unknown')
Issue 4: NETCONF Not Enabled
Error:
Connection refused on port 830
Solutions:
show system connections | match 830
Key Differences: NETCONF vs. SSH/CLI
Feature | NETCONF | CLI |
|---|---|---|
Data Format | XML (structured) | Text (unstructured) |
Parsing | Easy (XML parsing) | Hard ( Regex , text parsing) |
Consistency | Always same format | Can change between versions |
Speed | Fast | Slower |
Validation | Built in | None |
Transactional Configurations | Supported | Not supported |
Next Steps
Now that you can collect device information, consider the following actions:
Schedule Regular Collection - Utilize cron or Task Scheduler
Develop a Dashboard - Present data in real-time
Track Changes - Compare today's data with yesterday's data.
Alert on Differences - Send an email notification when versions change.
Export to Database - Store historical data
Key Takeaways
✅ NETCONF is powerful - It offers structured data, supports transactions, and provides validation.
✅ XML is consistent - It maintains the same format consistently.
✅ Python simplifies the process - ncclient manages the complexity
✅ Start with read-only - This approach eliminates the risk of causing disruptions.
✅ Build confidence - Gain expertise in querying before proceeding to configuration.
Conclusion
Congratulations on mastering the use of NETCONF to gather device information from Juniper vMX routers :
Establish a connection to the device using NETCONF
Execute operational commands
Parse XML responses
Extract and format the data
Export data to CSV for analysis
Next week, we will utilize Jinja2 templates to dynamically generate configurations across multiple vendors.
Download the code
All the code from this post is available on GitLab:network-automation-week-2
Questions or Feedback?
Connect with me on LinkedIn